How To Change Date And Time In Windows 11
In this article, we’ll go over all of the ways to change the date and time in Windows 11.
1 How To Change Date And Time In Windows 111.1 Change Date And Time In Windows 11 Using The Settings App1.2 Change Date And Time Using Control Panel1.3 Change Date And Time Using Command Prompt1.4 Change Date And Time Using Windows PowerShell
Change Date And Time In Windows 11 Using The Settings App
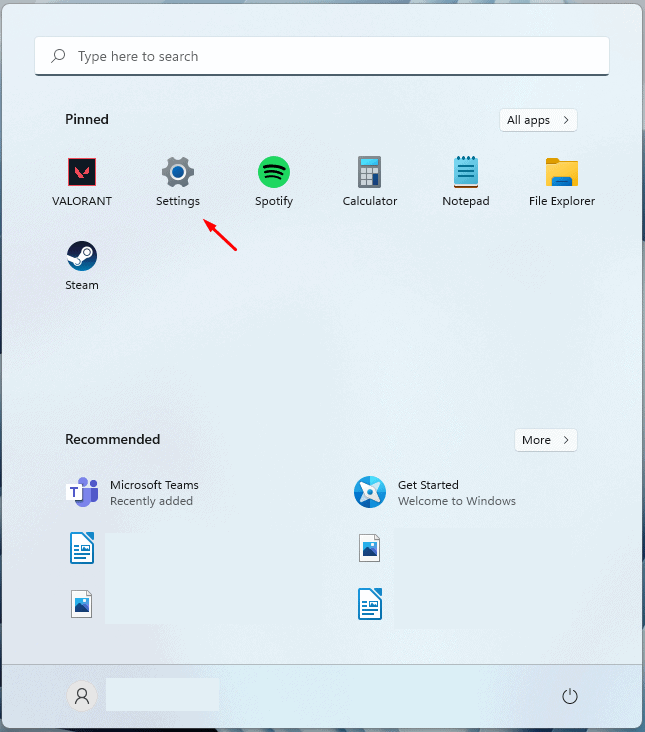
The very first way to change the date and time in Windows 11 is by using the Settings app. To do so, follow the steps given below-
Press the Windows + I key combo on your keyboard to open the Settings app.
In the Settings app, head to the Time & Language section from the left sidebar.
Now on the right side click on Date & Time, and then turn on the toggle saying Set time automatically if you want to time to be set automatically.If you want to change the time manually, then click on the Change button. On the next page, you will be asked to set the date and time. Once done, click on Change and you will be good to go.
Change Date And Time Using Control Panel
Another way to change the date and time in Windows 11 is by using the Control Panel. To change date and time using Control Panel, follow the steps given below-
Open the Start Menu on your PC by pressing the Windows key on your keyboard.
In the Start Menu, search for Control Panel. Click on the Control Panel from the Start Menu to open the Control Panel. Search for Date and Time in the Control Panel, and click on the relevant search result.
A new pop-up window will open.
Here, click on the Change date and time button, and then on the next screen set the date and time.
To change the format of the date and time, click on Change calendar settings on the same pop-up window.Here, under the Date and time formats, you will be able to change the format of the date and time.
Once done, click on Apply and then on OK.
Change Date And Time Using Command Prompt
You can also use the Command Prompt to change the date and time. To do so, follow the steps given below-
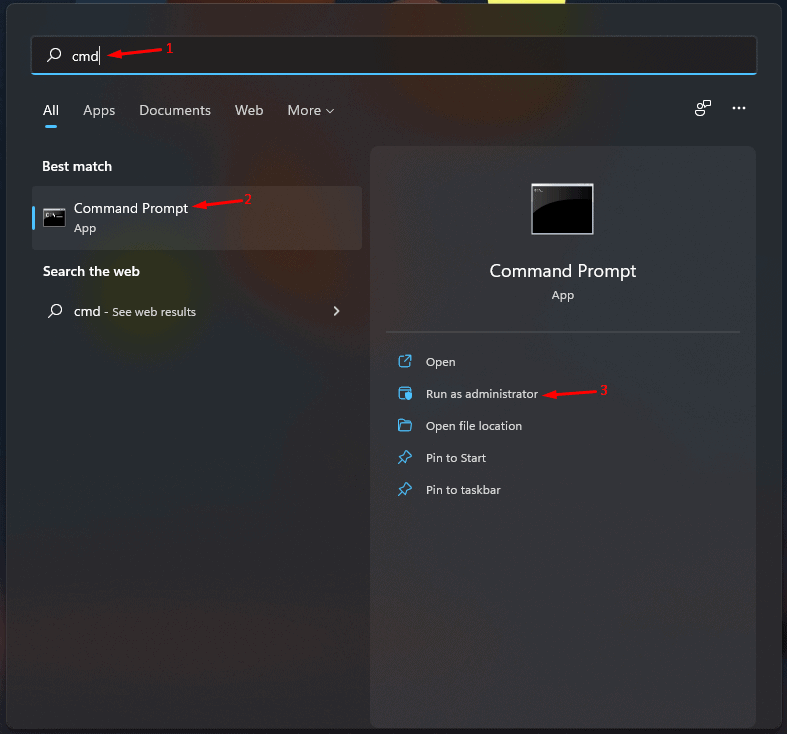
Press the Windows key to open the Start Menu. In the Start Menu, search for CMD. Right-click on the Command Prompt, and then click on Run as administrator.
To set the date, type the command date dd/mm/yyyy in the Command Prompt and hit Enter to execute it. Here, replace the dd by the date, mm by the month, and yyyy with the year.
To change the date, type the command time HH:MM and execute it. Here replace the HH with the hour and MM with minutes. If you want to set the 24-hour format, then enter hours in 24-hour format only. If you want to set the 12-hour format, then enter the hour in 12-hour format and at the end type AM or PM in the capital.
Change Date And Time Using Windows PowerShell
You can also change the date and time in Windows 11 by using Windows PowerShell. To change date and time using Windows PowerShell, follow the steps given below-
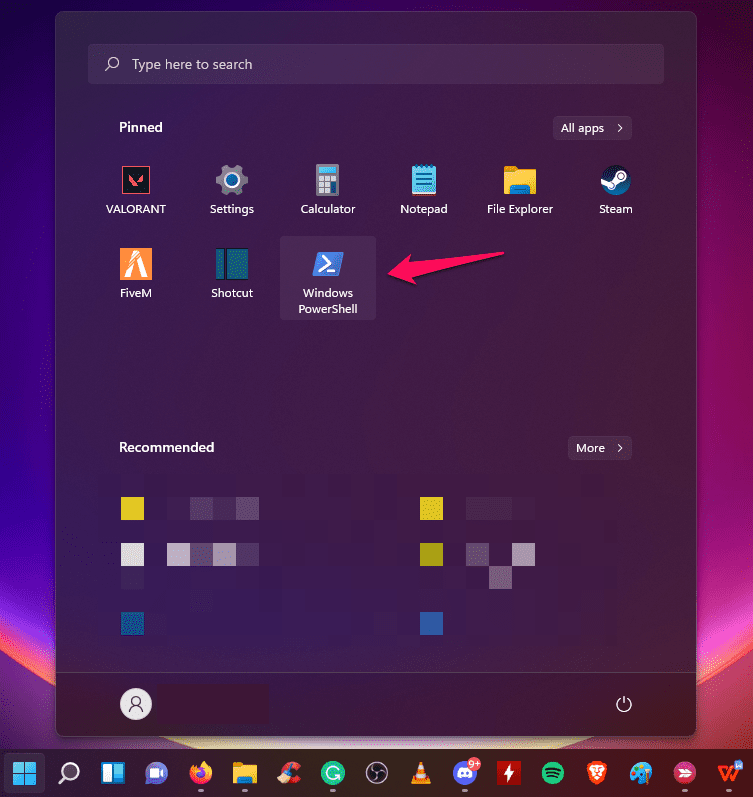
Open the Start Menu, and then search for Windows PowerShell. Right-click on the Windows PowerShell from the search result, and then click on Run as administrator.
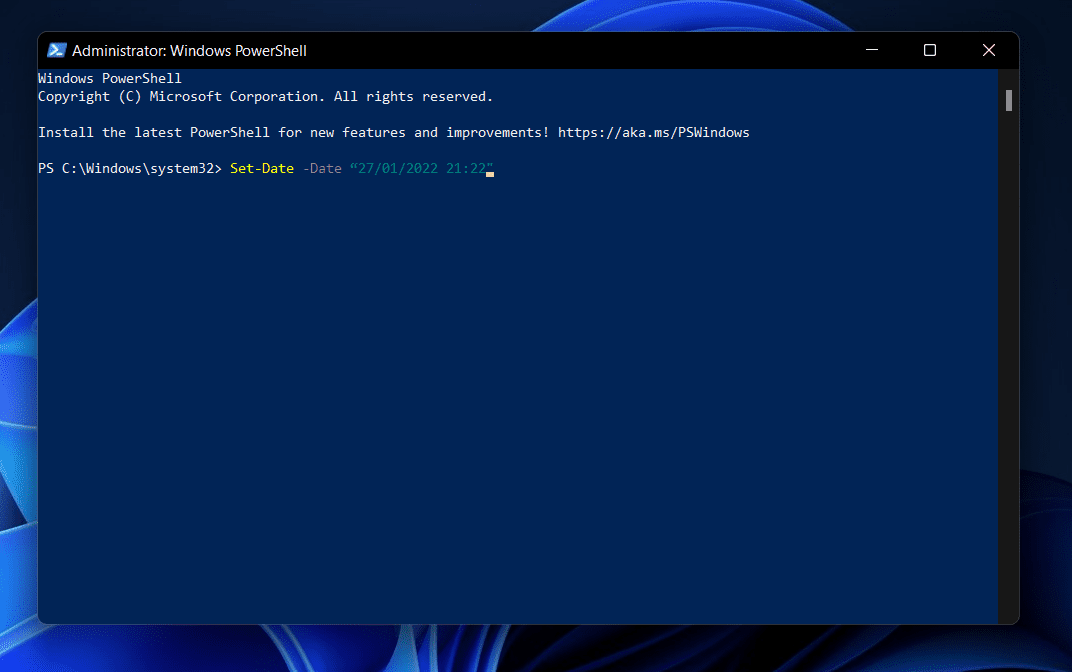
In the Windows PowerShell, type the command Set-Date -Date “dd/mm/yyyy HH:MM AM” or Set-Date -Date “dd/mm/yyyy HH:MM PM” and hit Enter to execute it. This is the command to change the date and time (in 12 hours format). AM or PM depends on the morning or evening. If you want to set the date and time (in 24 hours format), then execute the following command in the command prompt Set-Date -Date “dd/mm/yyyy HH:MM”
These were all the methods using which you can change the date and time in Windows 11. Following the above steps, you will be able to set the date and time on Windows 11 easily. RELATED GUIDES:
How to Fix Critical Process Died Error in Windows 11How To Change System Language Settings On Windows 11How To Fix Modern Setup Host High CPU in Windows 11How To Create Full System Backup in Windows 11How To Fix Windows 11 Search Indexing Not Working
Δ


