Nowadays, most people require a PC either for professional reasons or educational purposes, etc. Therefore, there is a huge number of the total population that is using PCs in their daily life. And since Microsoft came out with the Windows 10 update earlier this year, the PCs are supposed to be much more efficient in their work and also, much more user-friendly. However, there are reports of some errors in the latest Windows 10 too. One of the many errors reported by PC users after they installed Windows 10 on their PC is that their PC functioned at dead speed despite very few applications running on it well known as, 100% disk usage warning in Windows 8 and Windows 10. We have found out the reason and the solution to this problem faced by Windows 10 users on their PCs. You must be here seeking the solution to the same problem. Hence, let’s get started with the reason behind this 100% disk usage error in Windows 10 and the solution to it.
Fix 100% Disk Usage Problem on Windows 10
First, you need to know if you are having this trouble because your hard disk has over-work or not. To know this, follow the steps listed below.
1 Fix 100% Disk Usage Problem on Windows 102 Fix 100% Disk Usage Problem In Windows 102.1 #1 Temporarily disables Windows Search: 100% Fix and Solved2.2 #2 Permanently disable Windows Search2.3 #3 Run a disk check: Fix 100% Disk Usage Permanently2.4 100% Disk usage Windows 8 and Windows 10 (Video)
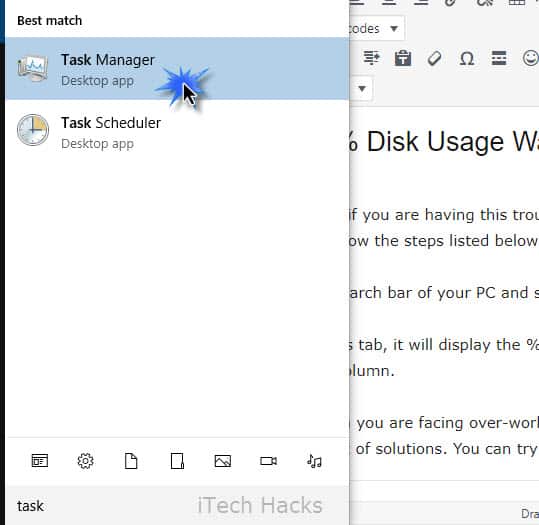
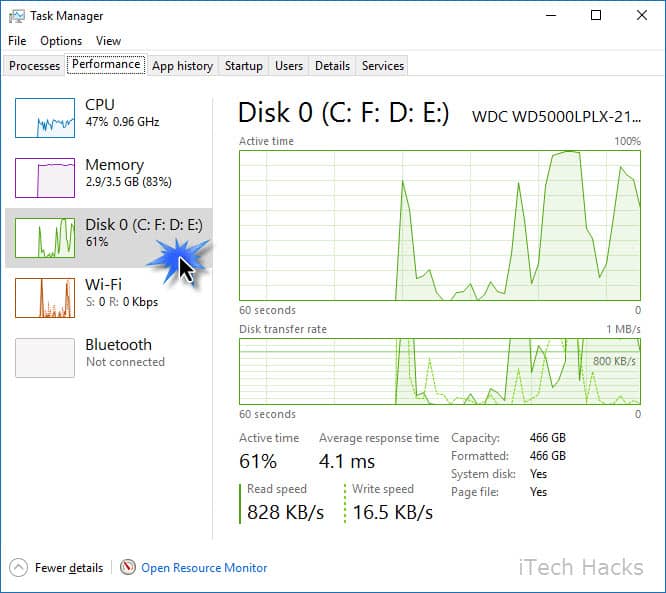
#1. Go to the Windows search bar of your PC and select task manager from there. #2. Here, in the processes tab, it will display the % of your hard disk being used. You will find it above the ‘disk‘ column. If it displays 100%, then you are facing an over-work problem on your hard drive. To solve this issue, we have a set of solutions. Windows 10 (100%) Disk Usage in task manager
Fix 100% Disk Usage Problem In Windows 10
You can try them out and see which one works the best for you. Hope it works fine for you.
#1 Temporarily disables Windows Search: 100% Fix and Solved
To temporarily disable Windows Search on your PC, execute the following steps. Step 1- Press the Windows key and ‘X‘ simultaneously on your keyboard. Then, select ‘Command Prompt (Admin)‘ from the different options displayed. Step 2- Now, a User Account Control window prompt will appear. Click on ‘Yes‘ to continue. Step 3- ‘net.exe stop “Windows search”‘ type in this command in the command prompt window which will be on your screen. Step 4- Now, hit ‘Enter‘ to disable Windows Search on your PC. By default, this service is not started But somehow, if it does start then you can disable it by following above easy steps. This will help you to fix 100% disk usage on any Windows PC. Windows 10 100% disk usage in Task Manager Fixed and SOLVED Once you have successfully disabled Windows Search, the overall performance of your computer must improve. However, if it does not happen so, then you must go on to the next method which you can use to solve your problem. Also Read: Windows 7 ISO Free Full Version Download 32/64 Bit
#2 Permanently disable Windows Search
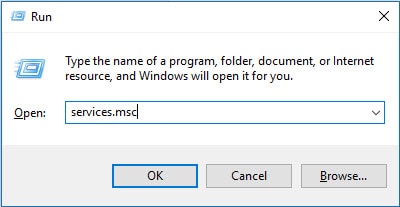
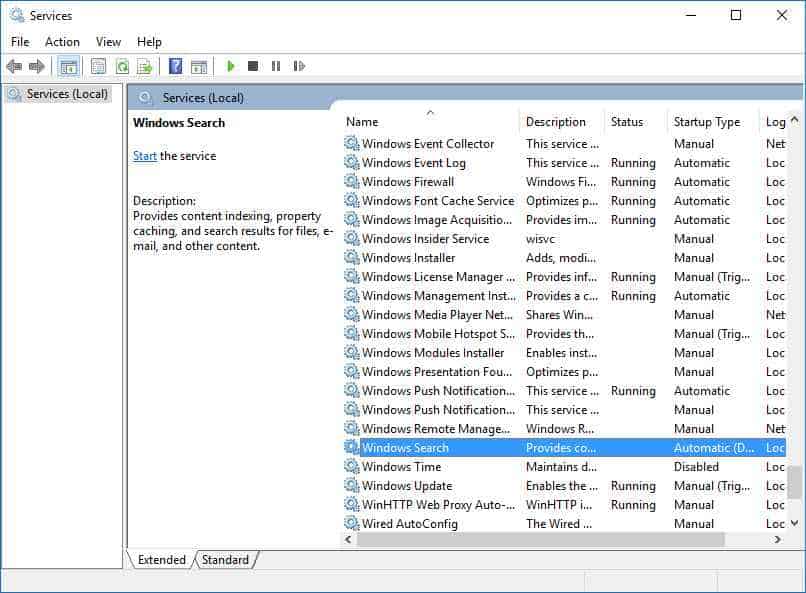
To permanently disable Windows Search on your PC, execute the following steps. Step 1- Press the Windows key and ‘R‘ simultaneously on your keyboard. Then, type ‘services.msc‘ in the dialog box which appears on your screen. Step 2- A list of different programs appear on your screen. Search for the ‘Windows Search‘ option and then, double click on it to enter the Properties window. Step 3- In the Properties window, under the general tab, you will find an option named ‘Startup type.’ Here, select ‘Disabled‘ from the drop-down box. Step 4- Once you have executed the above step, click on ‘OK’ and ‘Apply’ to save the changes made by you. “fix 100% disk usage in windows” After each execution must check your Windows Disk usage as follow in the very beginning.
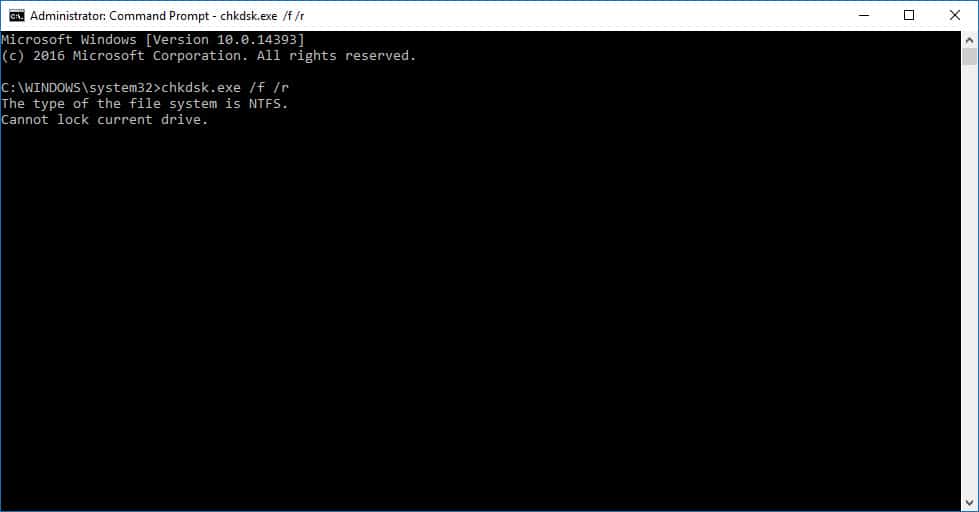
#3 Run a disk check: Fix 100% Disk Usage Permanently
To run a disk check on your PC, execute the following steps. Step 1- Press the Windows key and ‘X‘ simultaneously on your keyboard. Then, select ‘Command Prompt (Admin)’ from the different options displayed. Step 2- Now, a User Account Control window prompt will appear. Click on ‘Yes‘ to continue. Step 3- ‘chkdsk.exe /f /r‘ enter this command in the command prompt that will be displayed to you. Step 4- Now, hit Enter and ‘Y‘on your PC to initiate and confirm the disk checking once you restart your computer. You must close all the applications on your pic before you run a disc check on it. You must be patient in case the disc checking consumes a large amount of time. system using 100% disk windows 10
100% Disk usage Windows 8 and Windows 10 (Video)
Wrap Up: Well, This is what would definitely help you out to Fix the 100% Disk Usage Error Message in your Windows 10. These were some of the 3 methods using which you can fix the 100% disk usage problem you are facing on your Windows 10 PCs. If you get stuck at any of the steps out of you have a better and alternative method then please let us know in the comments section below.