Setup Do Not Disturb on iOS Devices
When you buy or setup your iPhone or iPad as a new device then on that time the do not disturb feature is configured and setup by default, so you need to setup do not disturb as your need to do this check below the content. But before to setup do not disturb on iOS devices to need to know a little about do not disturb on iOS Devices.
What’s Do Not Disturb?
Do Not Disturb is a feature that let you keep your mobile silence from every kind of alert, call, message and many more apps that create a noisy sound or an alert sound. When Do Not Disturb is turned on your iPhone or iPad it will keep collecting all your alerts but will do so quietly and don’t let the alert make noise & get your attention. Whether you’re in a meeting or simply trying to get a good night’s sleep. Do Not Disturb will make sure you can talk, eat, or sleep in peace and quiet.
Configure and Setup Do Not Disturb Settings
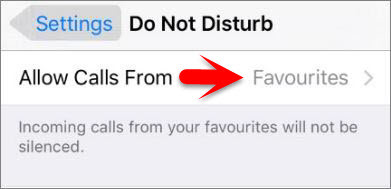
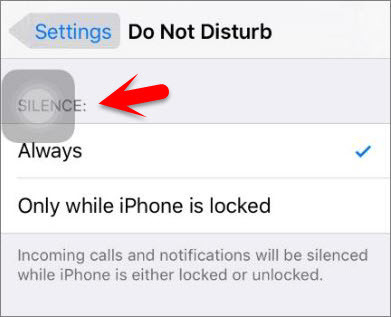
Step #1. Go to Settings then tap on Do Not Disturb. Step #2. Tap on Allow Calls From then Chooses from Everyone, No One, Favorites, All Contacts, or a specific group. Step #3. If you want a second call from the same person within 3 minutes will not be silenced then Turn on Repeated Calls. Step #4. On the Silence section Choose Always or Only while iPhone is locked As your need.
Enable Do Not Disturb Manually
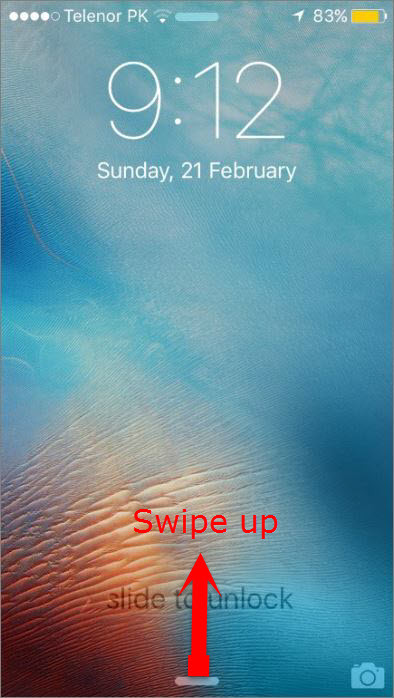
Step #1. You can enable do not disturb by 2 ways, the first way is to enable do not disturb by Control Center, so swipe up from the bottom of the screen to launch Control Center, or if your are using Assistive Touch then tap on Control Center. Step #2. Tap on crescent moon icon to enable do not disturb. make yourself sure that the crescent moon icon appears in the top status bar when it is there it means that do not disturb is activated. Step #3. The second way is to enable do not disturb by settings then go to Settings > Do Not Disturb and toggle the manual button on.
Schedule Do Not Disturb for a specific time
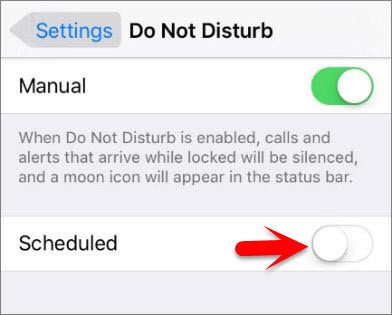
Now you know how to enable do not disturb and how to configure & setup does not disturb on iOS devices. but sometimes it happened to all when anyone goes to a special meeting and on that time, he or she forgot to enable do not disturb manually and the device will disturb him or her during the meeting. For this you need to schedule do not disturb for a specific time and do not disturb should be active on the time that you scheduled. To do this follow me step by step below. Step #1. Go to Settings then tap on Do Not Disturb. Step #2. Toggle the Scheduled button to the right (Turn On). Step #3. Now Choose from which time To which time Do Not Disturb should be active. Remember: Do Not Disturb is now block to create the schedule for one time in a day and you can create a second schedule and the time that you scheduled will be active every day at the same time. Hope that apple will make changes on the iOS 10 features and make us create multiple Do Not Disturb sessions. This was all about, how to setup do not disturb on iOS devices. If you faced any problem tell us below by comment, feel free to tell us. we’re waiting for your suggestion.


![]()

